In today's digitally connected world, staying online while on the road is not just a luxury but a necessity for many. Whether you are a part time RVer enjoying a short trip or full time on the road, having reliable internet access is key. Setting up internet for RVs might seem daunting at first, but fear not! With the right approach, patience, and research, you'll be connected in no time. Remember, this is an investment in your lifestyle! Let's dive into a step-by-step guide to setting up internet for your RV.
Step 1: Assess Your Needs
Before diving into the technical aspects, it's essential to assess your internet requirements. Consider factors such as:
Usage: Whether you're in your RV part time or full time, your usage at home should be identical to the usage while on the road. Since RVs don't have a traditional way of connecting to the internet, you'd want to consider higher allowance data plans or unlimited. The average household usage per month is around 400-600GB, according to various sources such as the OpenVault Broadband study.
Coverage: Will you be traveling through remote areas, or will you stick to urban areas with good network coverage, or both?
Number of Devices: How many devices will be connected to the internet in your RV? This includes smartphones, laptops, tablets, smart TVs, etc.
Budget: What is your budget for internet connectivity? Different options come with varying costs, so it's crucial to find a balance between affordability and reliability. A simple hotspot and data plan can cost around $200 to start, but a more advanced RV Wi-Fi system with all the bells and whistles can start at $500 up to a few thousand dollars.
Step 2: Choose Your Internet Solution
Once you've determined your needs, it's time to explore the various internet options available for RVs. Although you have several options, consider investing in a dedicated data plan for your RV. Options include:
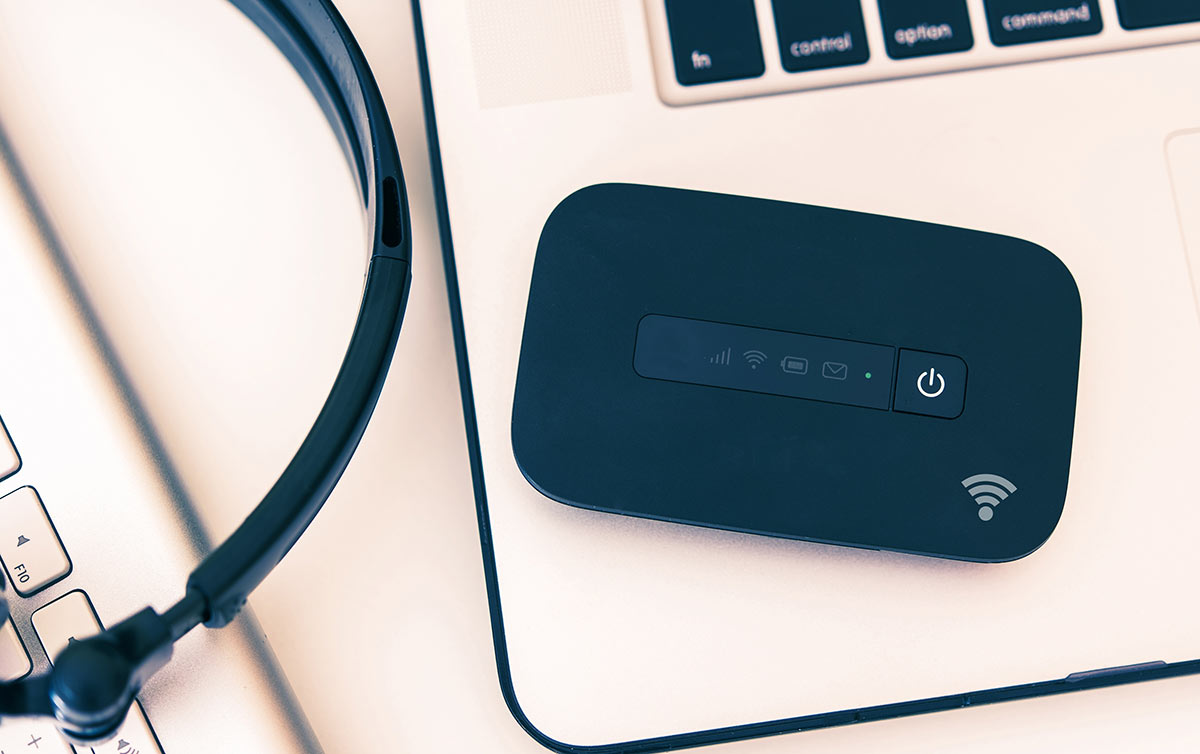
Mobile Hotspots: These devices use cellular data networks to provide internet access. They're portable, easy to set up, and suitable for moderate internet usage. Some of the leading brands include the Netgear Nighthawk or the Inseego MiFi. Mobile hotspots do require a dedicated data plan that's often limited to 50-100GB monthly from the major carriers.
Cellular Data Plans: Since most smartphones come with data plans, you can use it as a hotspot for your other devices. We only recommend this option as a last resort to a dedicated plan that you already have for your RV, as most cellular plans come with an allotment of hotspot data, usually 10-50GB monthly, which will throttle or slow down to 2G speeds for the duration of your bill cycle once you exceed that allotment. For reference, 2G speeds are barely able to send and receive emails, if that. In our opinion, cellular hotspot from your smartphone should only be used in emergencies if you're having issues with your dedicated RV internet and need a quick and temporary fix.
RV Wi-Fi Systems: Some companies offer specialized Wi-Fi systems designed specifically for RVs. These systems, such as Pepwave / Peplink and Winegard often include external antenna ports to connect omnidirectional or directional antennas and boosters to optimize and increase reliability, coverage, and data speeds.
Satellite Internet: Ideal for remote areas where cellular coverage is limited, satellite internet provides reliable connectivity almost anywhere. However, it can be expensive and may require professional installation. Another caveat to consider is that satellite options do not work without a line of sight to the sky. Weather, trees, or other obstructions will render this solution worthless.
EZ Mobile Data Options: EZ Mobile offers simple and easy to use mobile hotspots and routers optimized for RV use. Have your own device or want to inquire about features such as advanced routers, antennas, just general questions on how to get started? We got you covered. We do all the legwork for you, including picking the plan that's right for you, finding you the right hotspot.
Step 3: Set Up Your Equipment
Once you've chosen the right internet solution for your RV, it's time to set up your equipment.
Install Antennas: If you're using a specialized RV Wi-Fi system or satellite internet, follow the manufacturer's instructions to install antennas and other necessary equipment on the roof of your RV.
Configure Settings: For mobile hotspots or cellular data plans, access the settings menu on your device to configure Wi-Fi passwords, network preferences, and data usage limits.
Test Connectivity: Before hitting the road, test your internet connection to ensure everything is working correctly. Check for signal strength and speed using speed testing websites or apps. We usually recommend the SpeedSmart app for your phone.
Step 4: Enhance Your Signal (Optional)
In areas with weak cellular reception, you may need to enhance your signal to improve internet connectivity. You have two options for doing this.
Signal Boosters: Invest in a cellular signal booster to amplify weak signals and improve data speeds inside your RV.
External Antennas: Consider adding external antennas to your setup to capture stronger signals from nearby cell towers. If you're in a stationary RV and never move, consider a directional antenna. If you're on the go, you would want an omnidirectional antenna as opposed to a directional antenna. Need more information on this? The AntennaExperts can further guide you on the differences in more detail.
Step 5: Monitor Data Usage
To avoid exceeding your data limits and incurring additional charges if you have a capped data plan, monitor your data usage regularly. There are several ways to do this:
Use Data Monitoring Apps: Many mobile carriers offer apps that allow you to track your data usage in real-time. Install one of these apps to keep an eye on your data consumption.
Adjust Settings: Adjust the settings on your devices to minimize data usage, such as disabling automatic app updates and limiting video streaming quality.
Step 6: Stay Flexible and Adapt
Finally, remember that internet connectivity on the road can be unpredictable. Stay flexible and be prepared to adapt to different situations:
Plan Ahead: Research internet options and coverage maps for your planned route ahead of time. an excellent website for viewing coverage from all mobile carriers would be CellMapper. This helpful website has all the mobile carriers and their tower information. You may input specific zip codes and addresses to determine your proximity to a cell phone tower.
Have Backup Plans: Redundancy is key! Carry backup internet solutions such as multiple SIM cards or a combination of cellular and satellite internet. Remember your smartphone hotspot data as an important backup plan!
With these steps, you'll be well-equipped to set up internet for your RV and stay connected wherever your adventures take you. Happy travels and may your internet signal always be strong!
If you need guidance on your RV needs, feel free to email us at info@ezmobiledata.com, call or shoot us a text at 866-441-3282 and we will be glad to assist you!